Are you thinking about doing hardwood flooring in your remodel project? There are many options and terminology when it comes to hardwood – such as wood species, wood grades, and different cuts of wood. Don’t get frustrated or overwhelmed with these options. We can help you! We have tried to make this an easy process for you to understand below.
Wood Species
The first question that you will need to answer is what species of wood do you want. You can get hardwood flooring in many different wood species: white oak, red oak, hickory, walnut, maple, alder, American cherry, etc. This decision mostly comes down to personal preference and budget. The best starting point is to save your inspiration photos of any hardwood flooring you like.


Hardness and Stability
Each wood species has its own characteristics, such as visual characteristics, density, hardness, and stability of the product. The following table shows the density, hardness, and stability of many different wood species. As you will notice in the table, hickory is the hardest wood species, while alder is one of the softest wood species. The hardness scale will determine how easily your wood flooring will scratch and dent during normal use. You should definitely consider this when selecting a wood species for your flooring.

Wood Grades
Hardwood flooring has different grades depending on the number of knots and imperfections (Select, #1 Common, #2 Common, etc.). The highest wood grade is Select, which is the cleanest grade of wood with very few small knots. Our hardwood floor installer likes to purchase hardwood flooring material from Muscanell Millworks, which is a mill located in Colorado. The climate at which the wood is milled is very similar to our climate in Utah. This means that the moisture content and stability of the product will be better suited for our homes. Muscanell Millworks has its own grading system, which is as follows:
Hacienda – Comparable to Select
Casa – Comparable to #1 Common
Madera - Comparable to a blend of #1 Common and #2 Common
Mesa – Rustic grade
The following diagram shows the different grades for hickory.

Wood Cut Guide
The visual characteristics of hardwood flooring depend largely on where/how the wood is cut from each log. The price of the hardwood flooring depends on the cut you choose. The most common types of cuts are the following:
Plain Sawn is typically the least expensive cut since it creates the least amount of waste.
Rift Sawn is typically the most expensive cut. The grain will be very straight and tight.
Quarter Sawn is typically a less expensive cut than rift sawn. If you like the look of rift sawn, but don’t like the high cost, you can get a similar effect by doing a combination of rift and quarter sawn wood.
Cathedral Cut (Live Sawn) will give you the cathedral arches on each piece of wood. The wider the plank of wood, the more pronounced the arches will be.
The following diagram shows the different wood cuts.


Toothing-in the Floor
Toothing-in is a technique we frequently use in our remodels with hardwood flooring. The purpose is to seamlessly blend new hardwood flooring with existing hardwood. The process of toothing-in involves removing a section of the original hardwood and inserting new boards that match the size and grain pattern of the existing ones. In the pictures below, you can see the “teeth” where the new boards interlock with the original boards. This creates a smooth, continuous appearance once sanded and stained.
This method provides homeowners a cost-effective approach for their remodel by patching a small area rather than replacing the entire floor. We often use toothing-in for the following applications:
When we do additions and the original hardwood is extended into the new space.
When an existing wall is removed and we need to fill in the gap with new hardwood.
Remodeling a kitchen and the layout of the cabinetry or island changes.
Toothing-in a hardwood floor is a great way to save money while preserving the floors you already love. It is cost efficient and creates less waste. Check out one of our kitchen remodels below where we used this technique.

Step 1: Photo taken before construction started on this kitchen. The kitchen needed to be reconfigured for electrical, plumbing, new island placement, etc.

Step 2: A section of the original hardwood was taken out and the rest of the floor was protected with plywood and cardboard. Once rough plumbing, electrical, framing, and drywall were completed we were ready to patch the floor.

Step 3: Toothing-in the floor began. Original sections of interlocking flooring were delicately removed. The new boards were installed in an interlocking fashion.

Step 4: Beginning the sanding process. This is also the time to test out stain colors. In this case, we were matching the stair color of the existing floor.

Step 5: Once the larger finishes are completed, the hardwood floors can be finished. In this case, the entire floor was sanded down and prepped for stain.

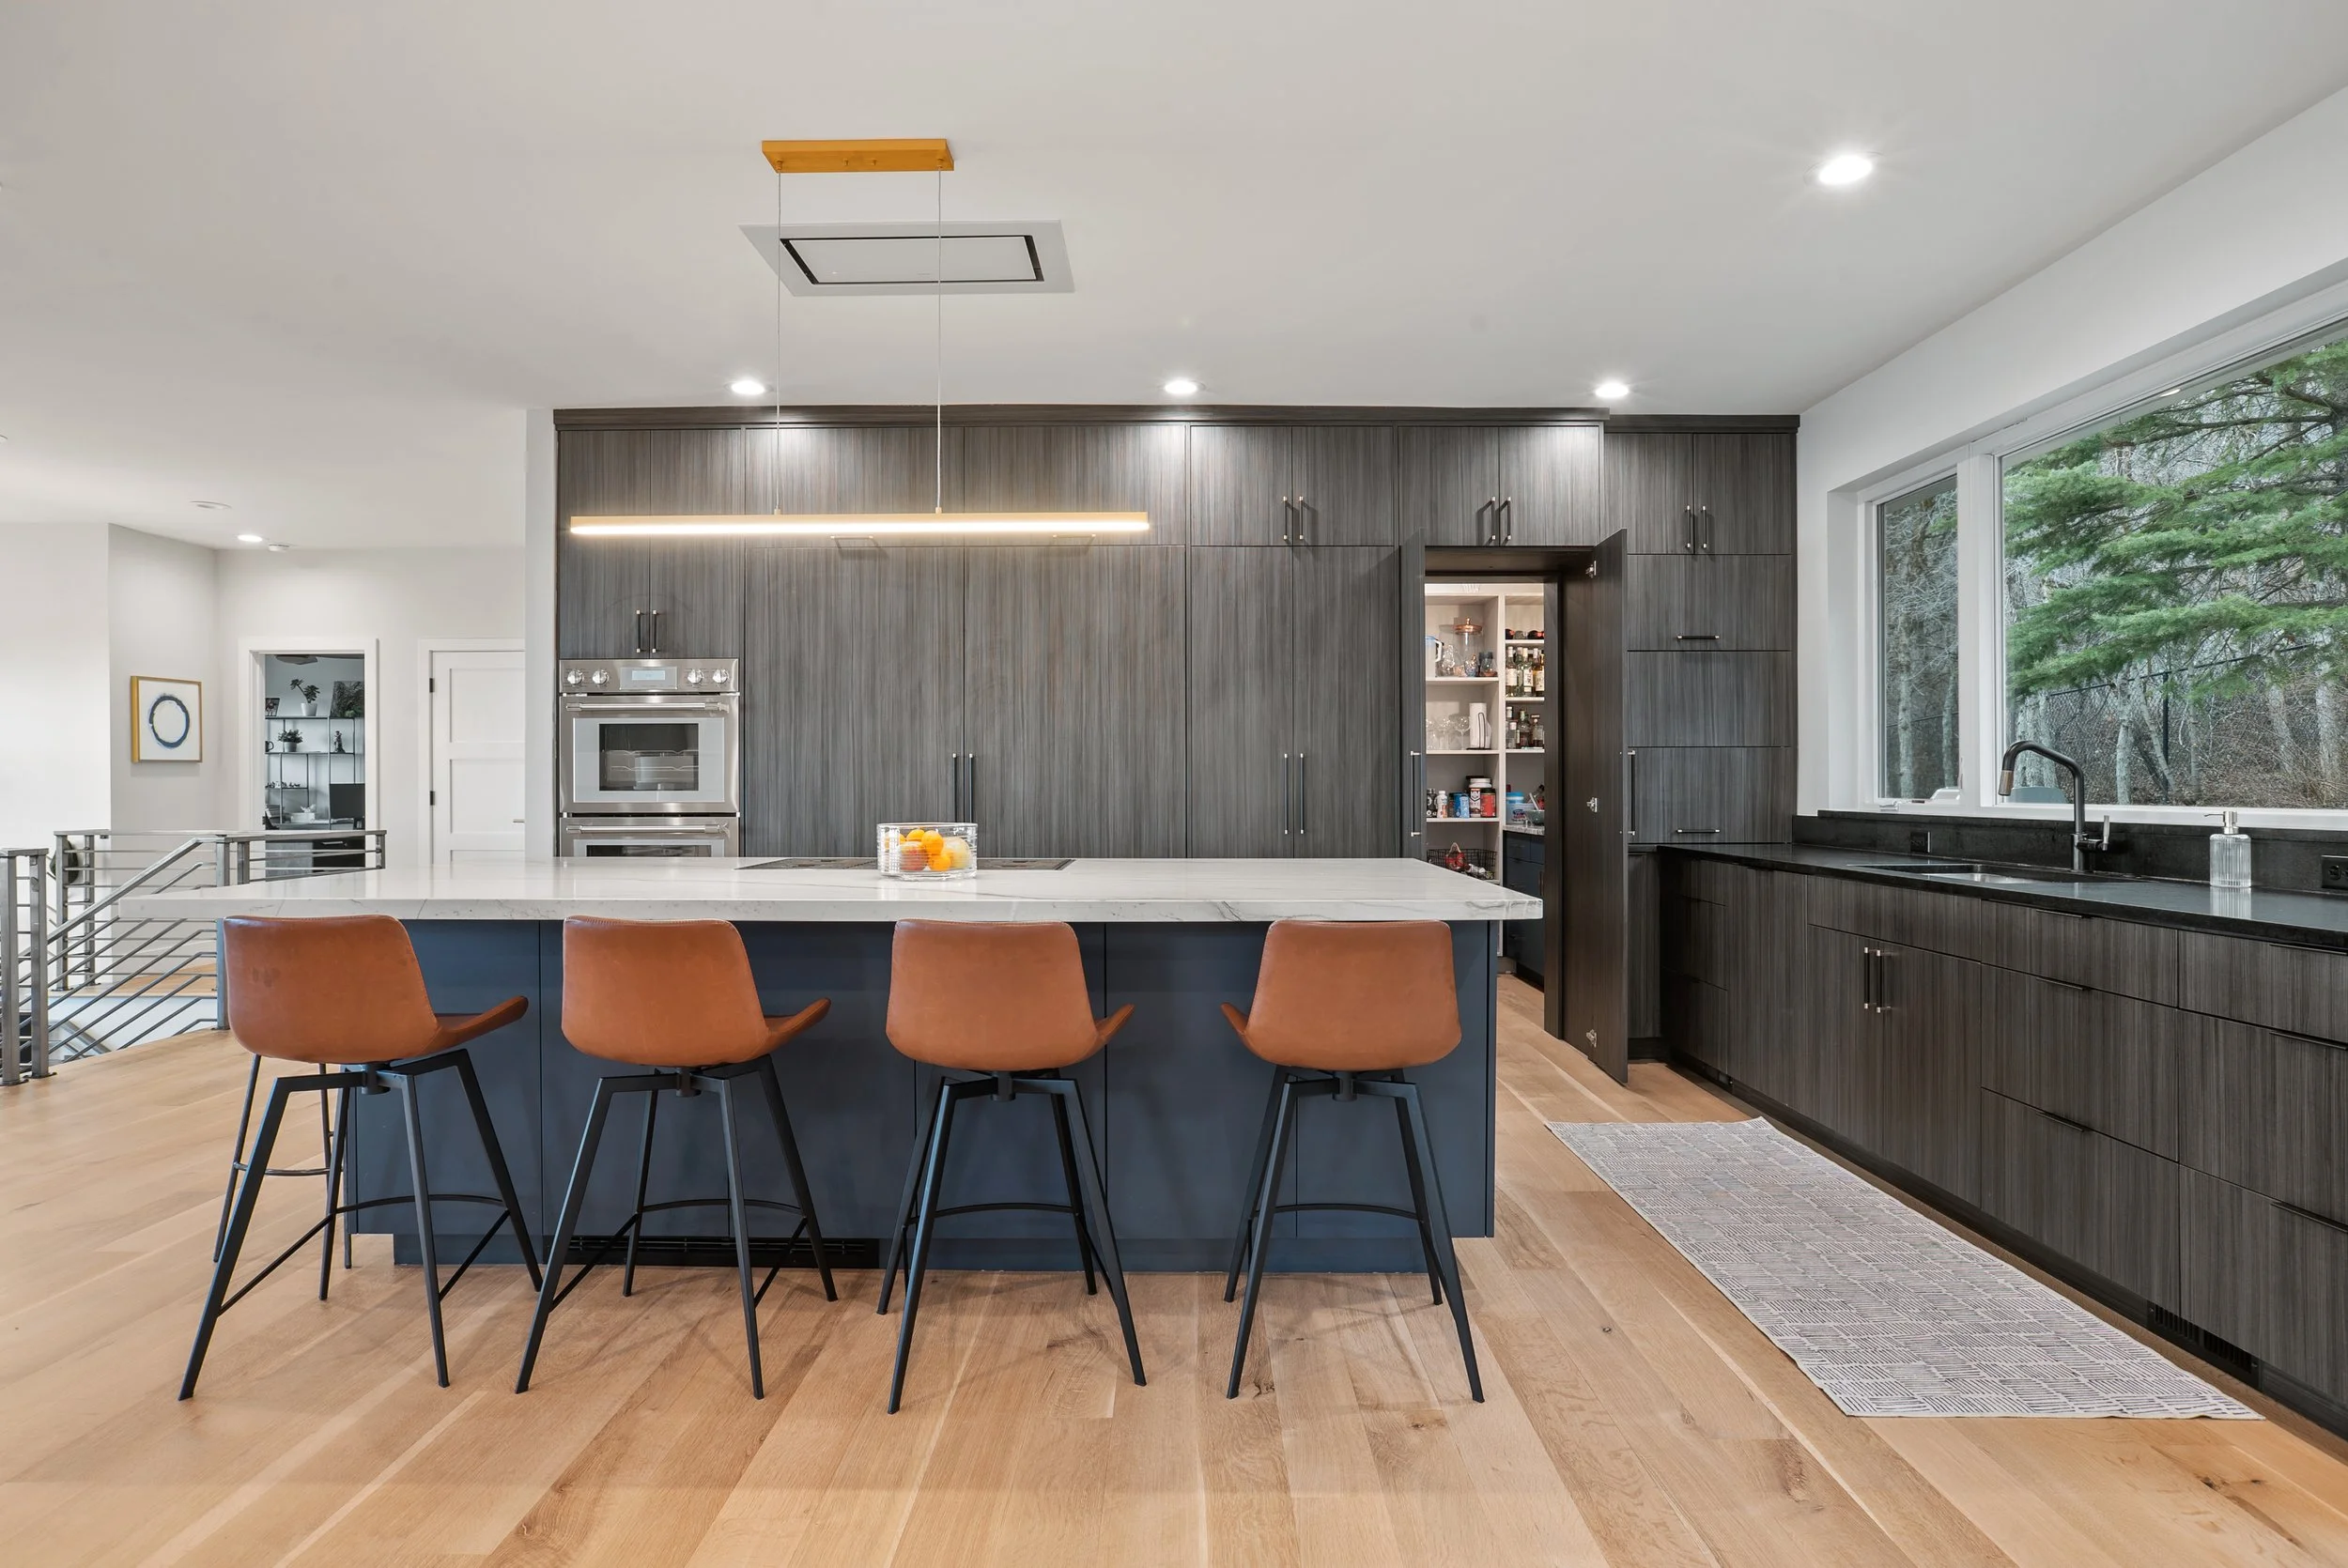
Step 6: Here is the finished product! The hardwood floors were a seamless transition from old to new. Toothing in the floor is a great technique to use in remodels.
Discovering What’s Best for You and Your Home
Choosing the right hardwood flooring for your home remodel can feel overwhelming, but it’s all about finding the option that best suits your style, needs, and budget. Use this guide to help walk you through the options. If you have more questions, we’re always happy to help. We can’t wait to see the hardwood floor choices you make for your next remodel.

Want more?
Check out more articles and stories on our blog! Subscribe to our newsletter to stay up to date on the latest stories!